How to Master Lost Wax Casting Techniques for Beginners?
Lost Wax Casting is a timeless technique, crucial for artists and jewelers. According to industry data, over 85% of jewelry makers utilize this method due to its precision and adaptability. Embracing this art form allows beginners to create intricate designs while gaining valuable skills.
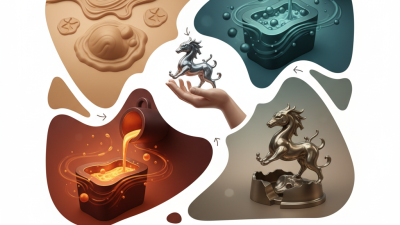
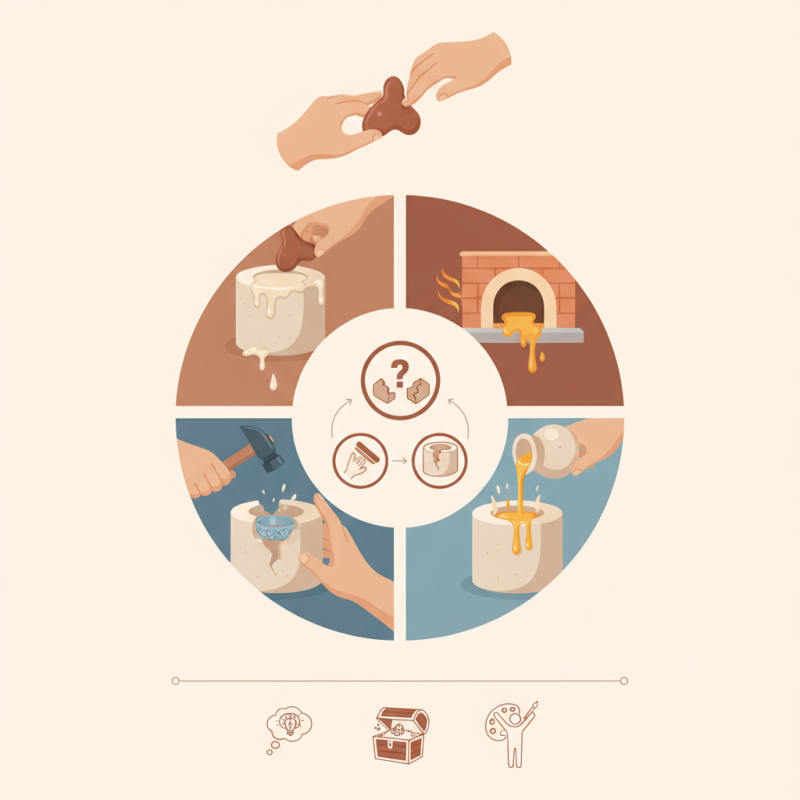
The process of Lost Wax Casting involves several key steps. First, artists create a wax model of their design. Next, this model is coated with a ceramic shell. Once heated, the wax melts away, leaving a cavity for metal. This method ensures high levels of detail, producing complex shapes and textures.
Despite its popularity, many beginners encounter challenges. Common issues include achieving a flawless finish or managing cracking in the mold. Reflecting on these hurdles can lead to significant improvements. By mastering Lost Wax Casting, aspiring artists can unlock their creative potential and produce exceptional works. The journey may not be perfect, but it’s incredibly rewarding.
Understanding the Basics of Lost Wax Casting Techniques
Lost wax casting is an ancient technique, allowing artists to create intricate metal objects. It starts with a model made of wax. This wax model is then coated in a heat-resistant material. Once heated, the wax melts away, leaving a cavity for molten metal. Understanding the process is essential for beginners seeking mastery.
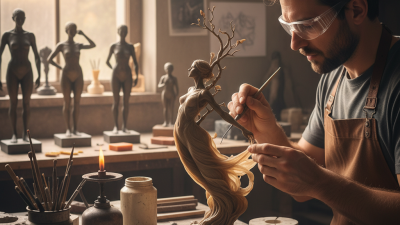
The beauty of lost wax casting lies in its detail. Each step requires precision. Wax models can capture fine textures. However, not all beginners achieve perfect results on their first attempts. Mistakes often occur while forming models or pouring metal. These challenges can be frustrating but also serve as valuable lessons. Learning from errors builds better skills.
Experimentation is part of the journey. Each project reveals different aspects of the technique. Some may find their molds crack or their metal not flow properly. These imperfections can dishearten beginners but highlight the importance of practice. Over time, dedicated artists learn to refine their methods, creating unique and stunning pieces through perseverance and creativity.
How to Master Lost Wax Casting Techniques for Beginners? - Understanding the Basics of Lost Wax Casting Techniques
| Step |
Description |
Materials Needed |
Estimated Time |
| 1 |
Create a wax model of the object you want to cast. |
Wax sticks or sheets |
1-3 hours |
| 2 |
Attach sprues for metal to flow during casting. |
Wire or metal sprue material |
30 minutes |
| 3 |
Create a mold around the wax model using investment material. |
Investment powder and mixing tools |
2-4 hours |
| 4 |
Heat the mold to remove the wax and cure the investment. |
Kiln or furnace |
4-6 hours |
| 5 |
Pour molten metal into the mold through the sprue. |
Molten metal (gold, silver, bronze) |
1 hour |
| 6 |
Break the mold and retrieve your cast object. |
Tools for breaking investment |
1-2 hours |
| 7 |
Finish the object by polishing and adding details. |
Files, sandpaper, polishing cloth |
Varies |
Essential Tools and Materials for Beginners in Lost Wax Casting
Lost wax casting is a fascinating technique for creating intricate metal objects. To get started, you'll need a few essential tools and materials.
First and foremost, wax is crucial. Choose a soft wax for easy carving. You can also use a wax pen for detailed work.
Next, you'll need a mold. Silicone molds are a great choice for beginners, as they are flexible and durable.
Additionally, you'll require a heat source to melt the metal. A propane torch or a small furnace works well. Focus on safety; wear gloves and goggles during this process. Don’t forget investing in a pair of pliers for handling hot materials. The right tools make a noticeable difference in your results.
While these tools are vital, remember that mastering lost wax casting takes time. Don’t expect perfection on your first attempt. Mistakes are common and part of the learning curve.
Sometimes, your mold might not fill completely, or the wax may not capture details as you hoped. Reflecting on these issues can turn setbacks into valuable lessons.
Keep practicing, and over time, you’ll develop your skills and confidence in this art form.
Step-by-Step Process of Creating a Wax Model
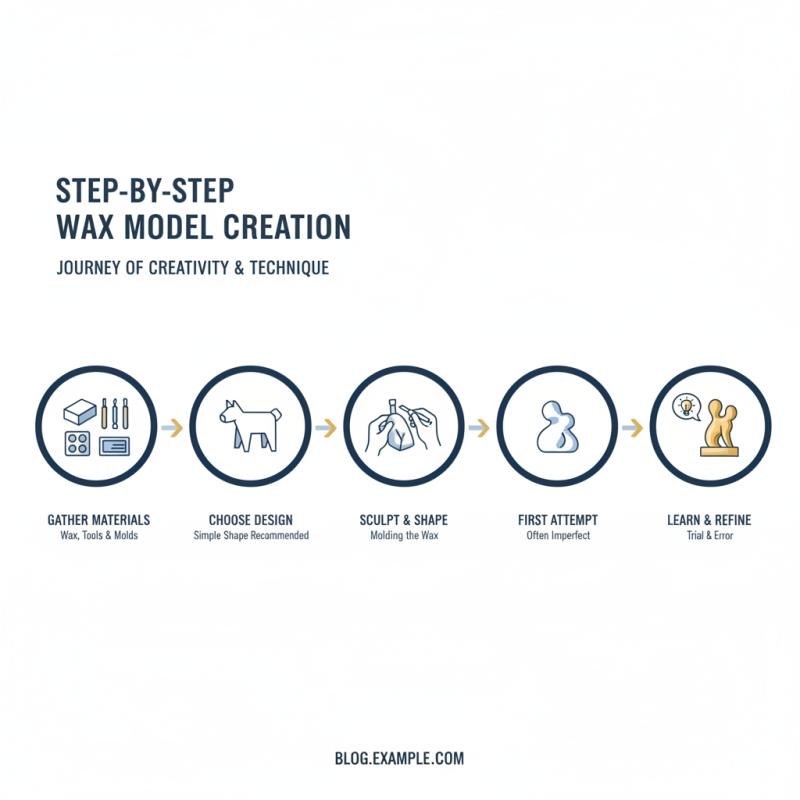
Creating a wax model is a fascinating journey that blends creativity with precise technique. Start by gathering your materials: wax, tools, and molds. Choose a simple design for your first attempt. You might find your first wax model doesn’t turn out as you envisioned. That's okay; learning often comes from trial and error.
Begin by heating the wax to a manageable consistency. Pour it carefully into your mold. While it sets, monitor the temperature to ensure it solidifies properly. This step requires patience, as rushing can lead to cracks. Once the wax has cooled, remove it gently from the mold. You may notice imperfections – perhaps uneven surfaces or air bubbles. Don’t get discouraged. These flaws offer valuable lessons for your next model.
Next, refine your wax model. Use small tools for detailed work. This allows for precision, but also increases the chance of mistakes. You can reshape areas that need improvement. Embrace the process, as mastery takes time. Each wax model teaches something new. Keep practicing, and you’ll gradually build your confidence in lost wax casting techniques.
Investment Materials and Techniques for Molding
Lost wax casting is a fascinating method that requires precision and the right materials. When it comes to investment materials, choices significantly impact the outcome. Commonly used materials include silica, zircon, and alumina. Each offers varying thermal stability and surface finish.
A recent industry report highlights that high-quality investment materials can increase casting accuracy by up to 90%. This means that selecting the right investment is critical for achieving the desired results. The process involves creating a wax model, coating it in the investment material, and then melting away the wax. The mold material’s integrity is vital to prevent defects like cracks or blemishes.
Utilizing the right techniques is equally important. Ensure the investment is mixed properly to avoid air bubbles. Some beginners experience issues with inconsistent mold strength due to improper curing times. It's essential to follow the manufacturer’s guidelines closely. Understanding these nuances can elevate a beginner’s skill level. Adjusting personal techniques based on trials and outcomes leads to better mastery of lost wax casting.
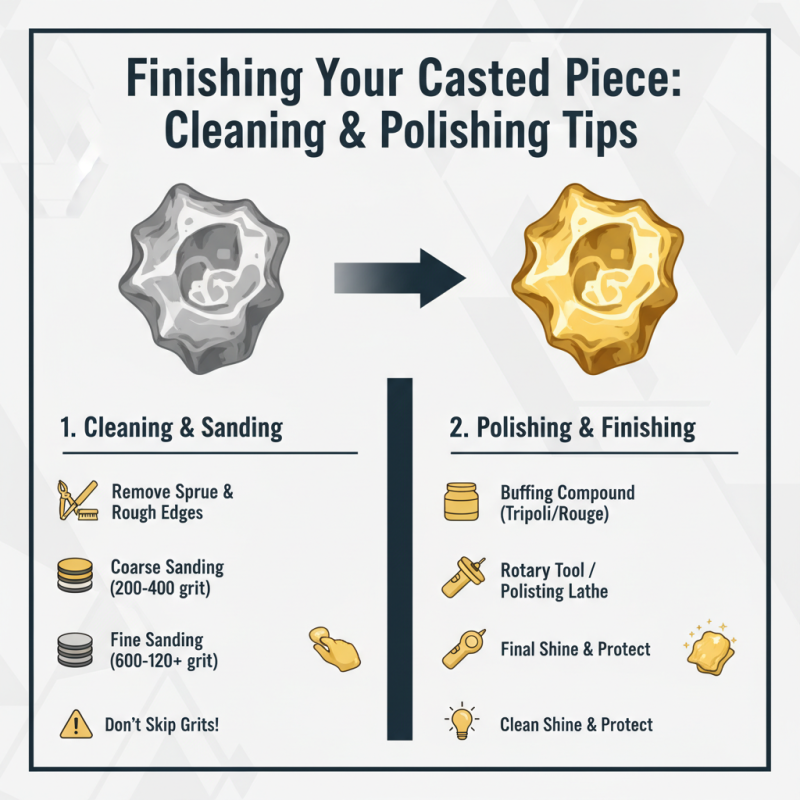
Finishing Your Casted Piece: Cleaning and Polishing Tips
Cleaning and polishing your casted piece is crucial in lost wax casting. After removing your piece from the mold, it often has a rough surface. Sanding is an effective first step. Use various grit sizes, starting with a coarse one. Gradually move to finer grits. This process helps eliminate any imperfections. Remember, even the smallest scratch can ruin the appearance.
Next, consider using a rotary tool for polishing. It speeds up the process and provides a smooth finish. Try different polishing compounds for varied effects. Experimenting can help you achieve that brilliant shine. Yet, be cautious; over-polishing might lead to loss of detail. Take breaks to inspect your work regularly. It’s easy to get absorbed and miss critical areas needing attention.
Don’t forget to clean your piece thoroughly after polishing. Use a soft cloth to remove any residue. A simple soap and water bath can also work wonders. Rinse well and dry your piece to avoid water spots. Sometimes it's easy to overlook these steps, but they are essential for a professional look. The details matter in the final presentation. Each step contributes to the overall quality of your project.